
main-fltkhome
Created by Yu-Chi Lai at 2006
Modified by Chi Man Liu in 2007
This tutorial will show you how to set up FLTK at home.
1.@ Step 1: Get a copy of FLTK.
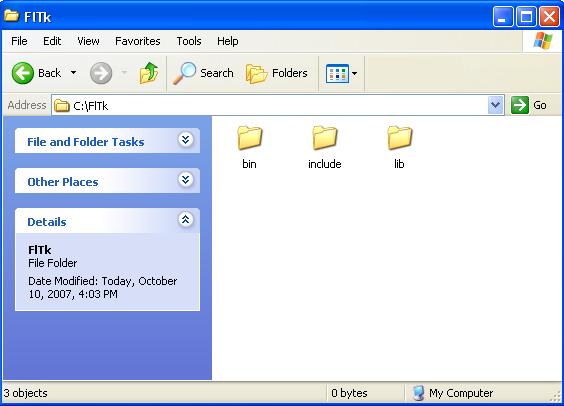
- Download the zip file and extract the files. In this tutorial, we extract the files to C:\. There should be three folders in C:\FlTk. Note: we have note included the documentation folder, but the documentation can be found online here in either html or as a PDF.
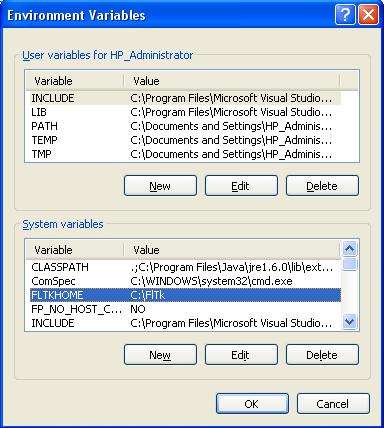
- This (optional) step sets the FLTKHOME environment variable so that the string $(FLTKHOME) points to the FLTK installation root on your machine. Go to Control Panel -> System and click on the Advanced tab. Click on Environment Variables to bring up the following dialog. Click New under System variables. Enter FLTKHOME for Variable name and your FLTK root directory (in our example, C:\FlTk) for Variable value. Click OK a few times to close the dialogs.
2.@ Step 2: Add Include Paths
- Open VS05. Choose Tools -> Options from the VS05 menus and you should get the dialog below. In the left hand pane go to Projects and Solutions -> VC++ Directories, then choose Include Files from the Show directories for drop down box. This is a list of directories the VS05 will search for header files when you include them between < and >, such as #include
. Click on the New Line button and type in your FLTK include directory (C:\FlTk\include) or $(FLTKHOME)\include if you set the environment variable in the previous step.
3.@ Step 3: Add Library Paths
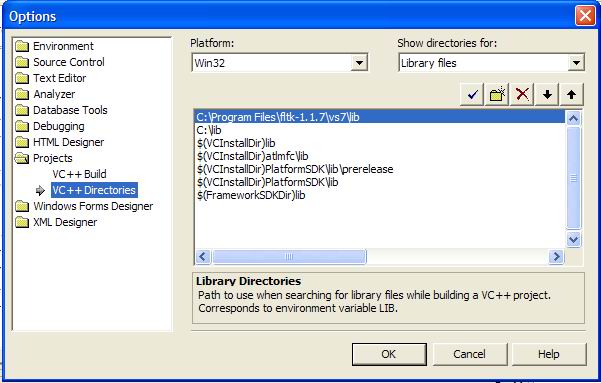
- We now need to tell VS05 where to find the pre-built FLTK libraries. Select Library Files from the Show directories for drop down box and add your FLTK library path (C:\FLTK\lib or $(FLTKHOME)\lib) to the top of the list.
- We’ve now set the include and library paths in VS05. This setting will persist through all projects, hence you only need to set this once. All future 559 projects will be able to find FLTK headers and libraries in these directories.
- Click OK.
4.@ Step 4: The following is the same as Tutorial 3 without the step 3 and step 4
Page last modified on September 04, 2008, at 08:46 PM